
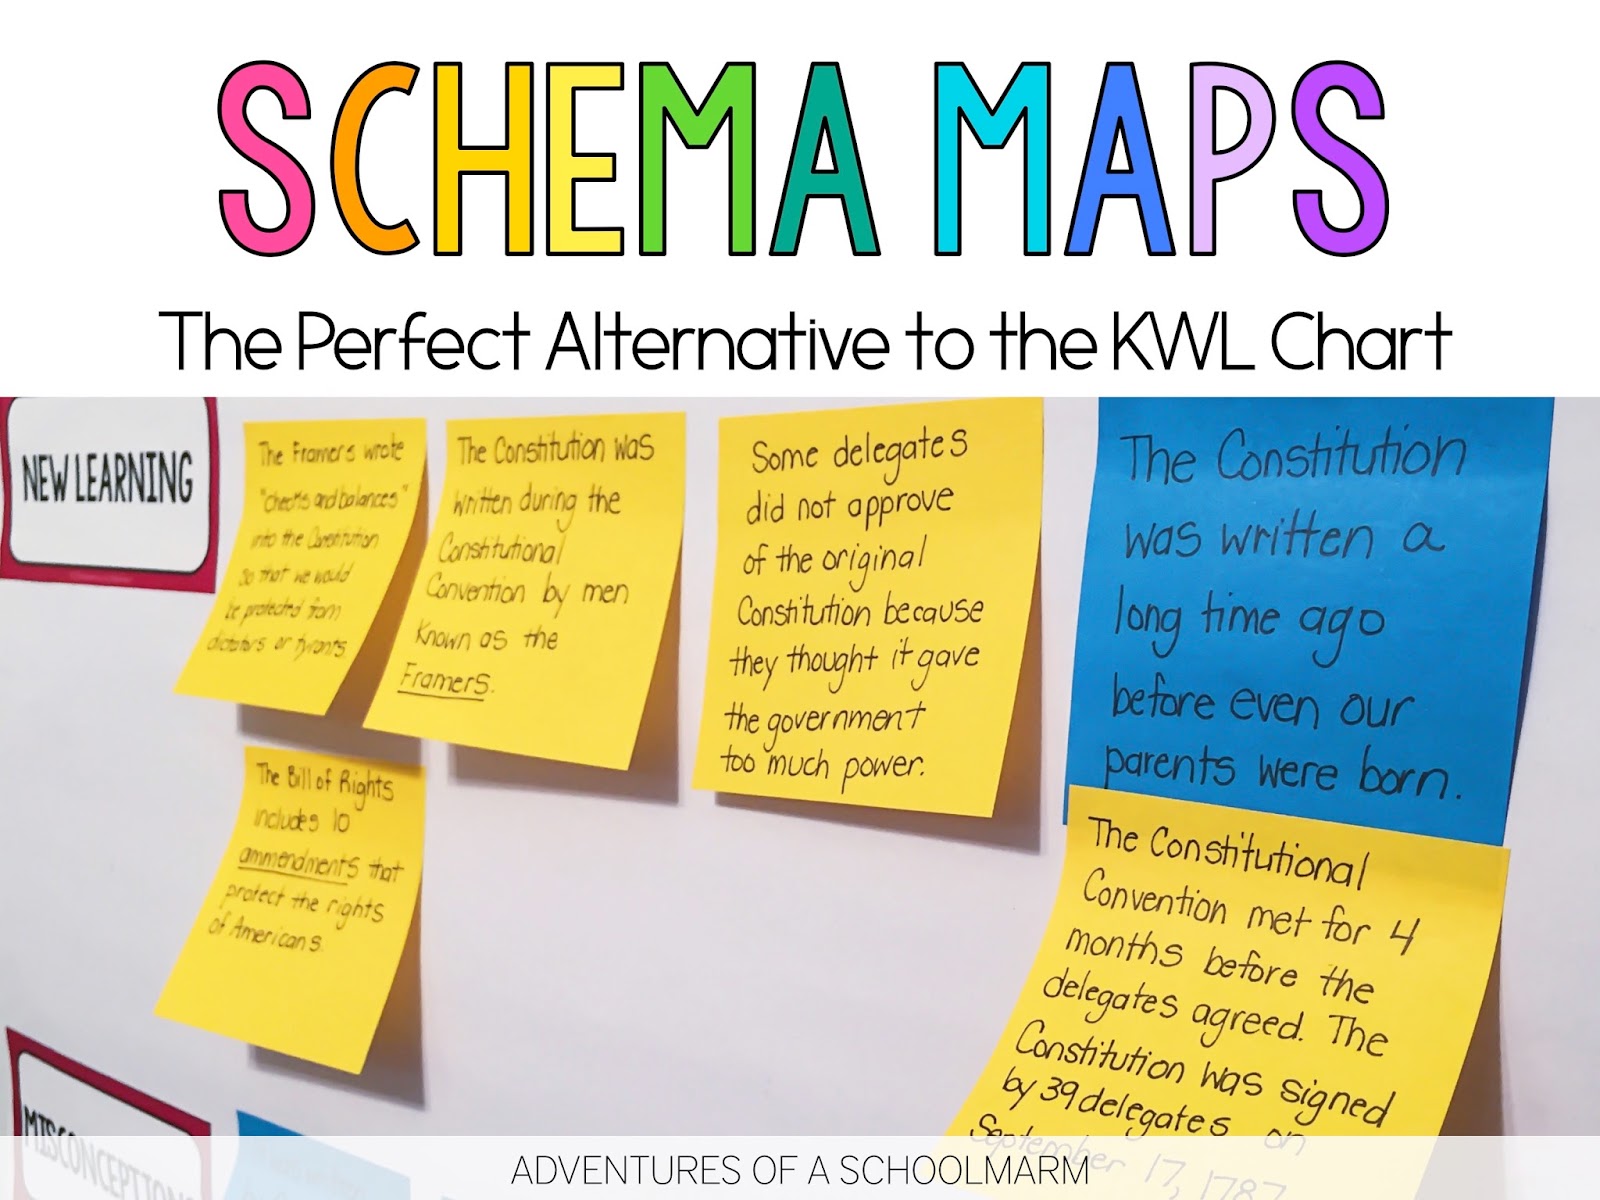
SCHEMA MAPS
Schema Maps provide the perfect solution to this problem! This strategy encourages students to record their prior knowledge and their new learning. Schema maps require students to distinguish between information that is expanding upon something they already knew and information that is brand new learning. Schema maps also require students to identify any of their prior knowledge that is a misconception and explain why the information is incorrect. I love schema maps because they have really helped my students deepen their knowledge in different content areas and they are super easy to create. This post will tell you exactly how you can get started using schema maps in your own classroom!STEP 1: RESERVE A SPACE FOR YOUR SCHEMA MAP.
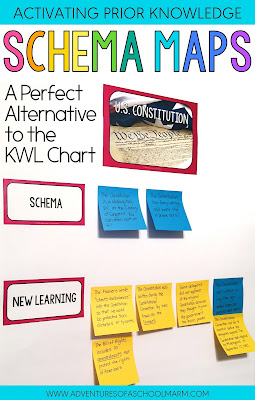
Good news - you don't need any special tools to create a schema map! You can make them on the overhead projector, interactive whiteboard, the wall, a window, or on an anchor chart. I like to use an anchor chart so we can keep it on display during the entire unit. I love to include a picture of the topic with the schema map to help students visually connect their learning to the topic.
STEP 2: RECORD SCHEMA ON STICKY NOTES.
Before you begin teaching anything new about the topic, record their prior knowledge (schema) on sticky notes. Write each schema statement on a new sticky note. I personally prefer to use sticky notes that are all the same color at this time. It will help visually distinguish between prior knowledge and new learning as you add to the schema map during the unit. Make sure to write all their prior knowledge on sticky notes, even when you know the statement is incorrect. You will not address any misconceptions at this time. In order for students to replace their false schema with correct information that actually sticks, it is important for them to determine which was incorrect later.
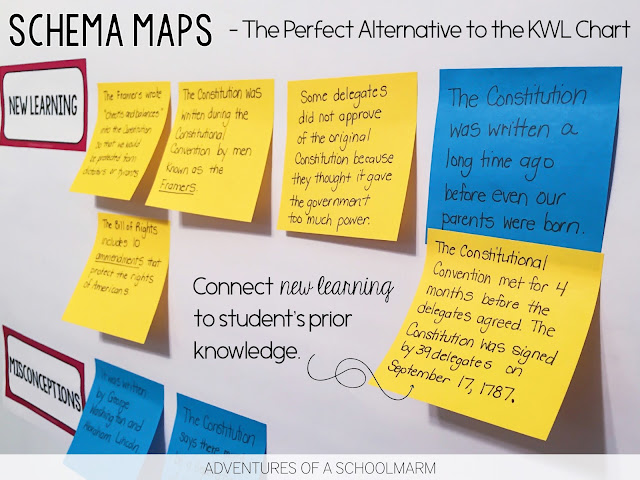
STEP 3: RECORD NEW LEARNING ON STICKY NOTES (NEW COLOR).
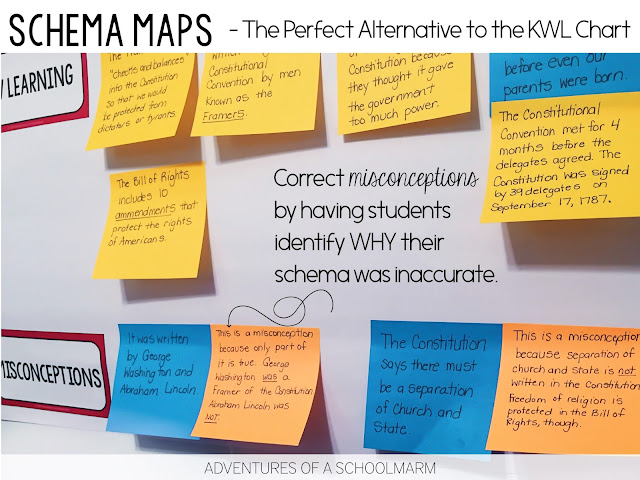
STEP 4: REVIEW SCHEMA STATEMENTS FOR MISCONCEPTIONS.
During the unit, it is also important to frequently review the students' prior knowledge so the can identify any schema that was a misconception. Once a misconception has been discovered, move the sticky note to that part of the schema map and have a discussion with the students. What made that schema statement a misconception? Have students explain why this information was inaccurate on a new stick note. I like to use a brand new color again! (Seen in the photo below with the orange sticky notes)
At the end of the unit, your Schema Map is just that - a map of where students' learning started and how far it has come! They are a powerful tool to help students activate their prior knowledge, apply it to new learning, and synthesize it all together. It really takes their thinking to new depths! Give it a try and let me know what you think!
Schema Maps are a perfect strategy for my unit on the Constitution because students often have so many misconceptions about it. They are a great way for us to track all that we have learned over the course of the unit. If you would like to use the Constitution Schema Map labels that I used in this activity, it is available as a FREE download here, including written directions for this strategy.
If you are interested in more resources about the Constitution, I have a complete unit available here! It includes a non-fiction coloring book that teaches students about the Constitutional Convention, ratification of the Constitution, and how it created the 3 branches of government. The unit also includes comprehension passages, reader's theater plays, graphic organizers, interactive vocabulary activities, and so much more. It is perfect for teaching on Constitution Day and beyond!


No comments