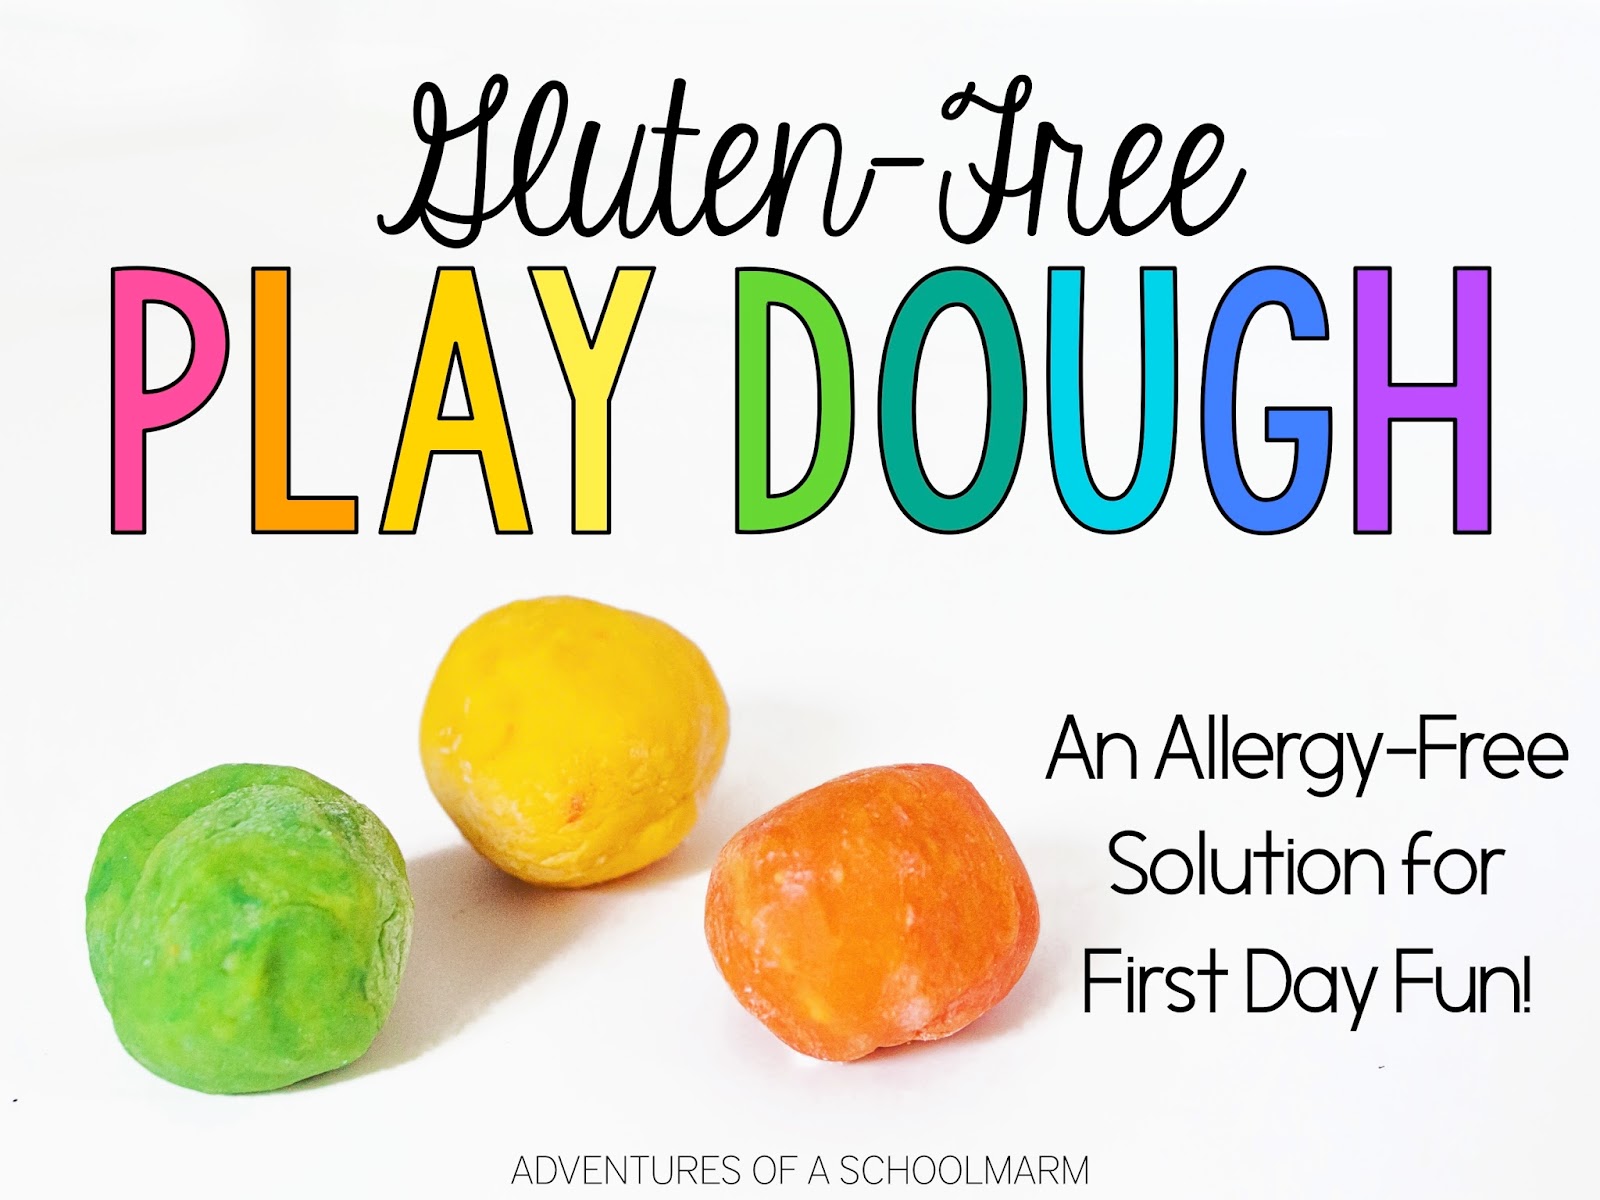
For this reason, I started to make gluten-free play dough for my students on the first day of school. It costs a little more than traditional homemade play dough, but it still costs less than purchasing pre-made play dough for everyone! It's also worth the extra cost to know that all my students are safe from potential allergic reactions.
Gluten-Free Play Dough Recipe
Yield:
Approximately 4 cups of play dough (or 4 dough balls the size of a baseball)
Ingredients:
2 cups gluten-free flour
1 cup corn starch
1 cup salt
2 Tb Cream of Tartar
2 tsp vegetable oil
2 cup hot water
Food coloring
Other Materials:
Medium pot
Silicone spatula or wooden spoon
Parchment paper
Directions:
- Mix the gluten-free flour, salt, and cream of tartar in a medium pot.
- Microwave the water so it is hot, but not boiling. Add the hot water and mix until thoroughly combined with the dry ingredients. *
- Heat the pot over low heat for 3 to 5 minutes, stirring frequently with a silicone spatula or a wooden spoon. The dough will pull away from the sides and look like play dough when it is ready. Do not overcook.
- Generously cover parchment paper in corn starch. Knead the dough until it becomes the smooth consistency of play dough. If the dough seems crumbly, add a couple drops of water. If the dough is sticky, add more cornstarch.
- Split into dough balls based on how many colors you want to have. Press a well into the middle of the dough ball with your thumb, then add food coloring into the well. I like rich colors, so I add quite a few drops. Close up and knead until the color is evenly distributed.
* If you would like to add food coloring while making the dough, it works best if you add it to the warm water before pouring it into the pot. I personally like to wait to add it afterwards because I like a variety of colors.
Magic Dough Alternative:
To surprise students with Magic Dough that changes colors, separate into small balls of play dough (1 ball per student). Use your thumb to press a small well into each ball, then add food coloring. Plug the hole with more dough so it looks like a regular ball of dough. As students knead the dough themselves, it will "magically" change colors!
If you would like to print out this recipe or use the tags shown in the picture, you can download them here or by clicking the photo below.
You May Also Like:
- 8 Reasons Play Dough is the Perfect 1st Activity for the First Day - Learn more about how play dough communicates exactly what I want students to know and believe about our classroom right in the first 15 minutes of the school day!
- Get Parents Involved from Day One - Are you looking for a fun way to get parents involved from the first day of school? This free resource also helps teach technology procedures!
- 10 Things I Wish I Knew Before My First Day Teaching - Learn from my mistakes so you can be better prepared for the unexpected things on your first day in the classroom!
- How to Mentally Prepare for Your First Year Teaching - Practical ideas on how you can get ready this summer for your new teaching position!
- 10 Classroom Routines You Need Immediately - Have you overlooked these 10 important classroom routines?








No comments