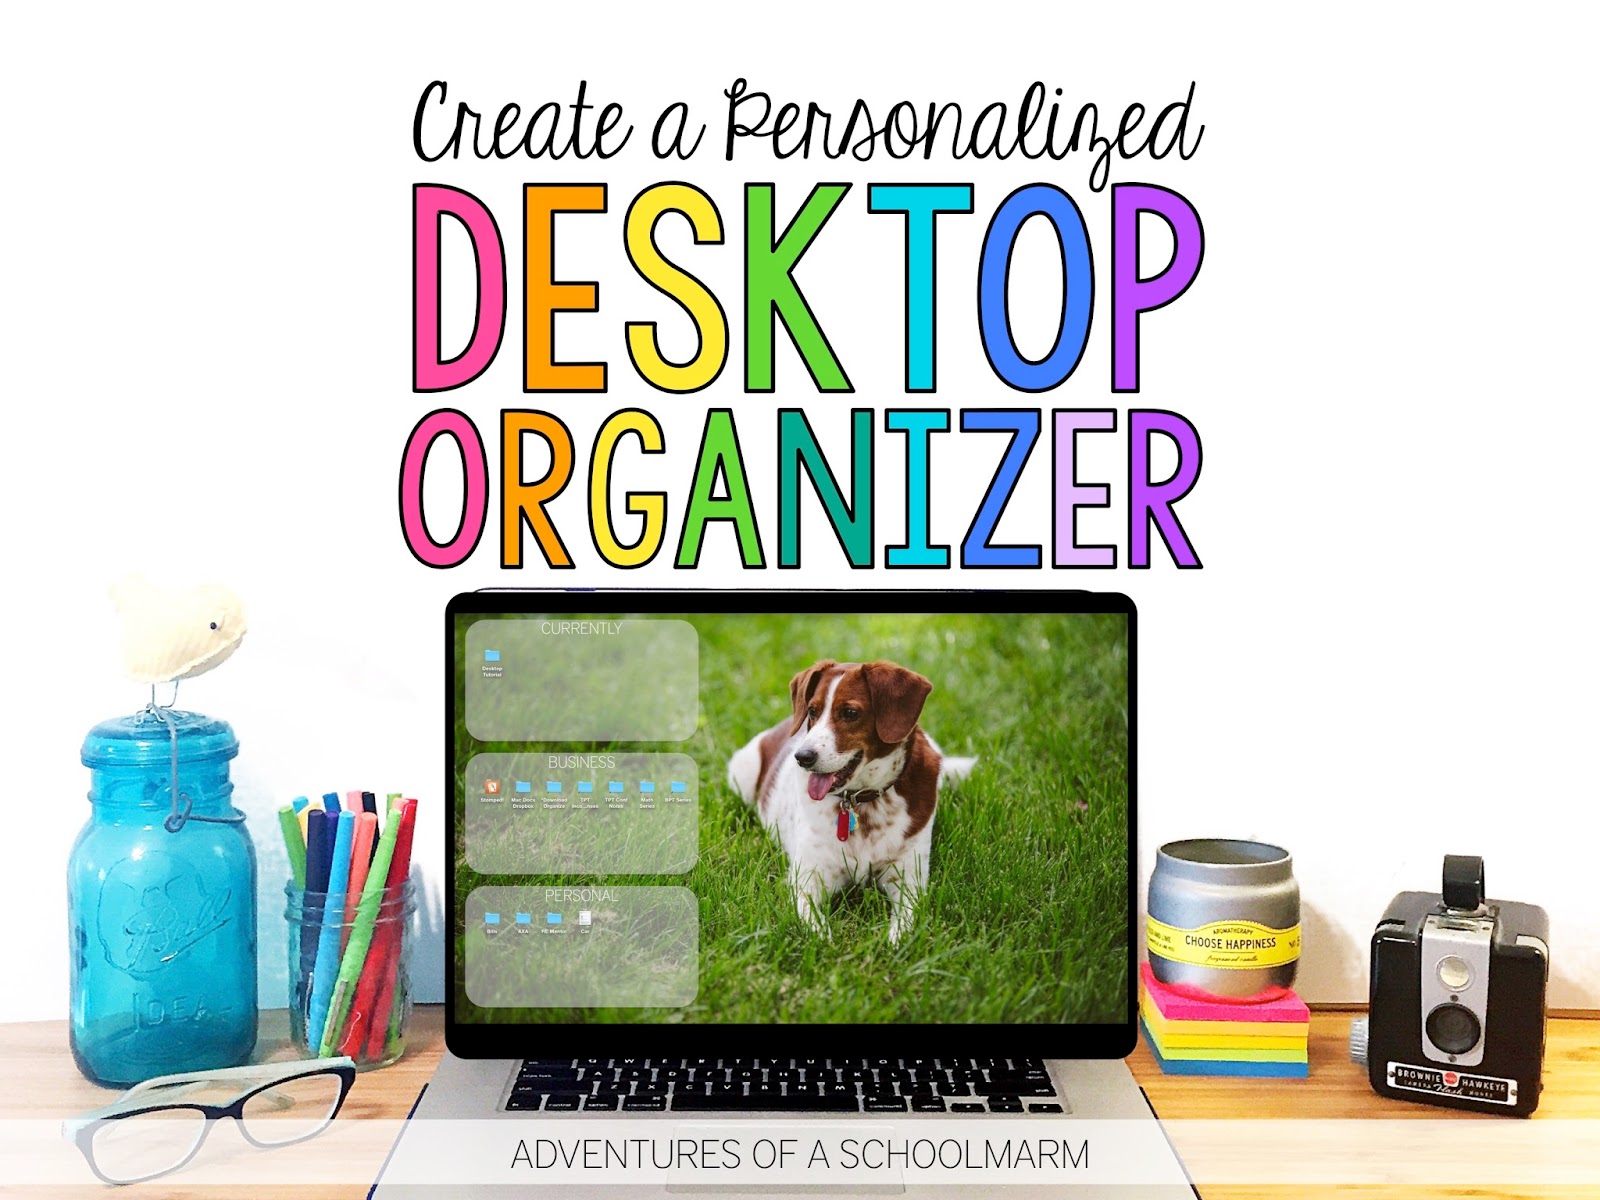
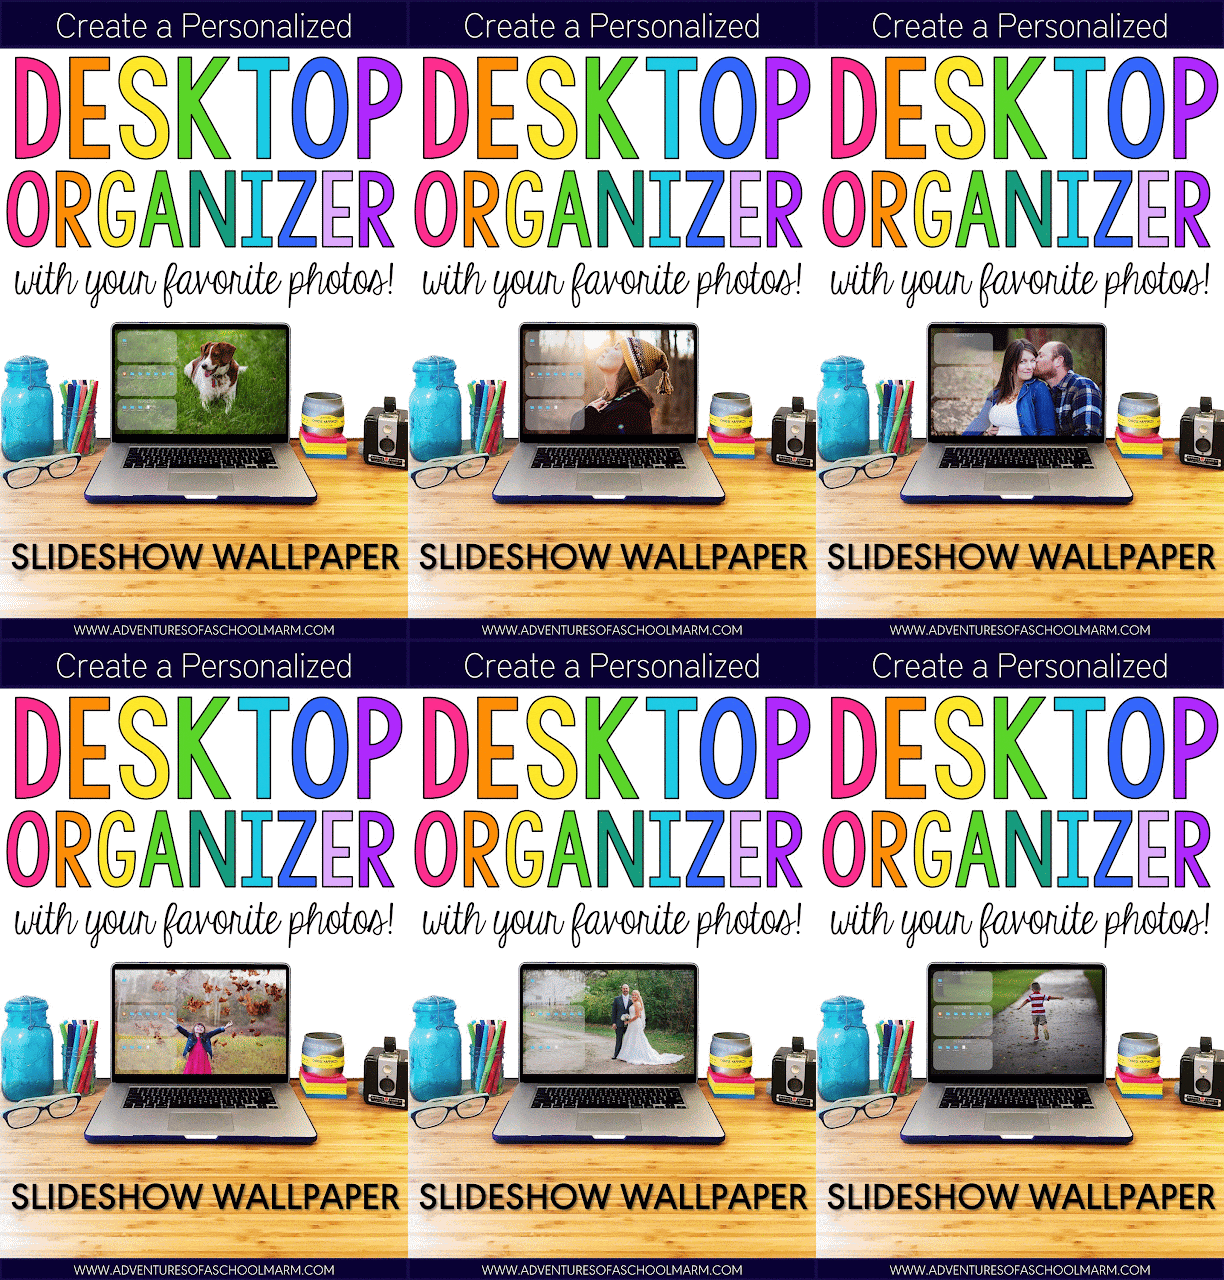
I love to keep my desktop organized using meaningful personal photos with a bonus feature - I add labeled boxes right on top to give everything on my desktop a place! There are different ways to create a computer desktop organizer, but I do so using the program PowerPoint. To learn how, check out my post on Classroom Tested Resources today titled DIY Personalized Photo Desktop Organizer... then hop back over here so I can show you how to use that method to create scrolling wallpaper.
STEP 1: CREATE YOUR PERSONALIZED DESKTOP WALLPAPER.
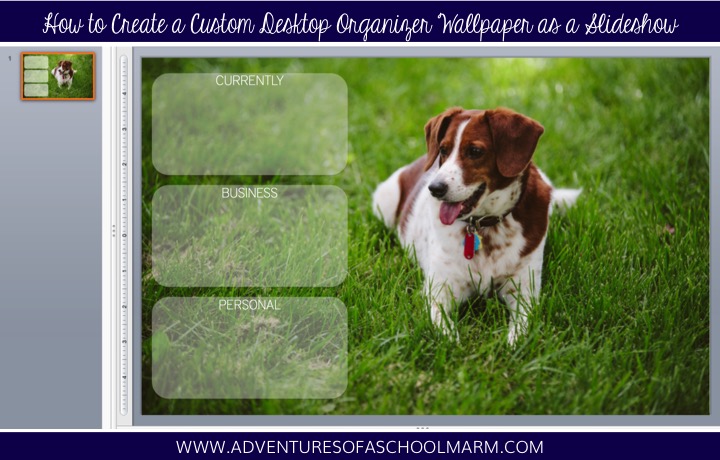
You may have already created personalized wallpaper to help you streamline the files or shortcuts on your desktop. If you have not or are not sure how to do this, dead over to my post on Classroom Tested Resources titled DIY Personalized Photo Desktop Organizer. There you will learn exactly how to create a wallpaper organizer for your computer using one of your favorite photos. Once you finish STEP 6, then hop back on over here for the rest of this tutorial!STEP 2: DUPLICATE THE WALLPAPER WITH DIFFERENT PHOTOS.
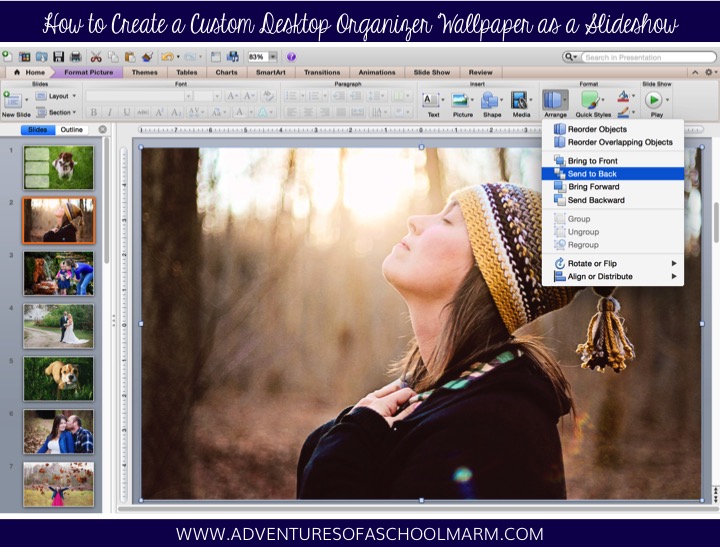
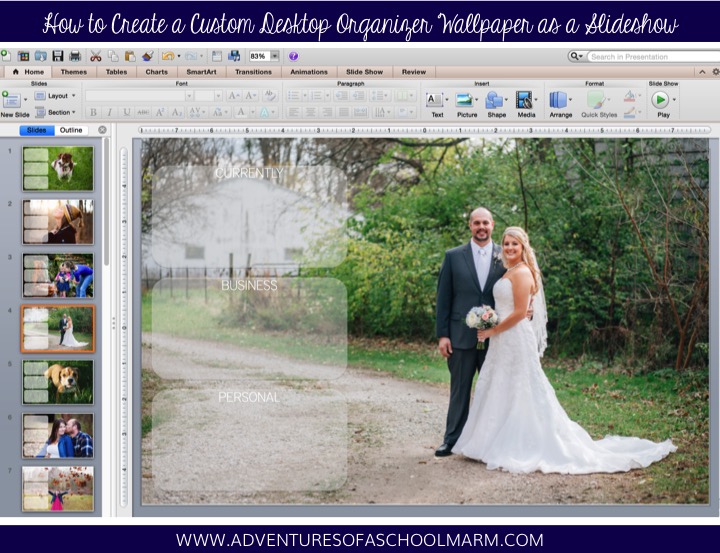
Open the PowerPoint file that you created in the tutorial above. Copy and paste the slide exactly as is. Click on the photo from the slide you copied and delete. Make sure you only delete the photo and not the organizer boxes and labels. Then copy and paste as many slides (without the photo) as you would like to have in your slideshow. Next, click and drag your favorite photos onto each slide. The photos will now be in a new layer on top of the organizer boxes and labels.While in the Home toolbar, click on each photo, then Arrange > Send to Back. This will ensure that the photo is the back layer so that the organizer boxes show. You may need to follow adjust the size of photos again by holding down SHIFT + clicking on the corner to drag it out larger or smaller. Do this for every slide so that all slides show the organizer boxes and labels. Make sure you keep all organizer boxes in the exact same location so that as the pictures alternate, your folders are still in the proper location.
STEP 3: SAVE ALL SLIDES AS PHOTOS IN A FOLDER.
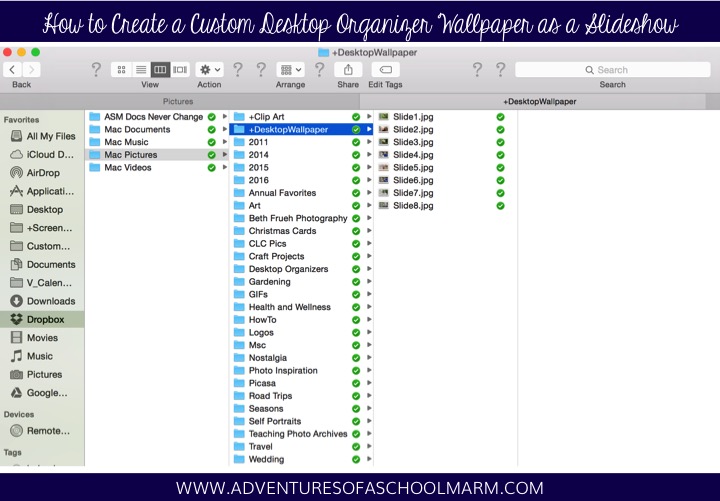
You can move this folder to a new location on your computer. However, once you have set the slideshow option below, make sure that you do not change the name of your folder or move it. I personally like to store this folder in my Dropbox > Mac Pictures folder so I always know exactly where to find it. (I created folders for Pictures, Documents, Music, and Movies within my Dropbox folder so all my files are backed up to the cloud.)STEP 4 - MAC USERS:
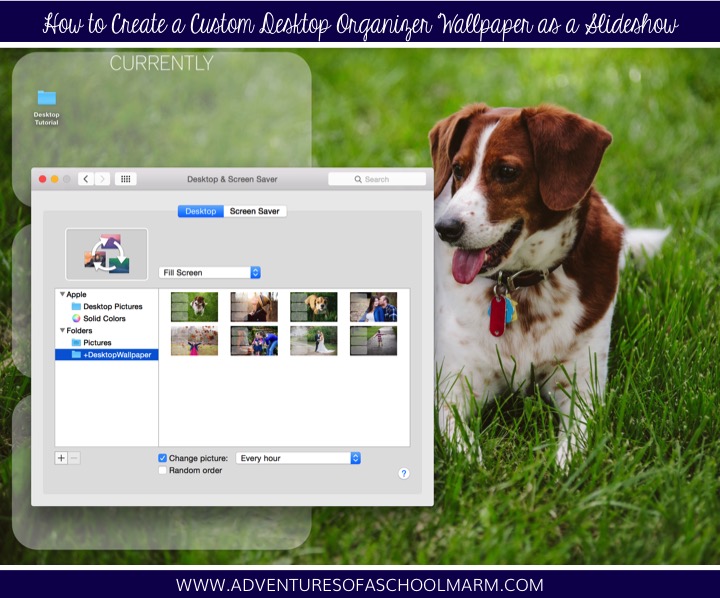
Control + Click on an open space on your desktop. Click on Change Desktop Background. A window will pop up for the Desktop and Screensaver Menu. Make sure you are clicked on the Desktop tab. On the left side, there will be a list of folders. You will likely see two dropdown sections of folders, such as Apple and Folders. Underneath, there are two buttons that look like a plus (+) sign and a minus (-) sign. If the folder you would like to use is not listed, click the + sign, then find the specific folder of images you would like to cycle through. Select the specific folder of photos you want to use, then click where it says Change Picture. Select the timing you would like for the slideshow. I personally set mine to change every hour.STEP 4 - PC USERS:
For Windows 10: Click on the Notifications Center, then go to All Settings. Click on Personalization. Under Background, use the drop down menu to change it to say Slideshow. Underneath "Choose albums for your slideshow", click on Browse. Select the specific folder of wallpaper you would like to scroll through. Under "Change picture every", select the time interval that you would like the wallpaper to change.For Windows 8: Right click on your desktop. Choose Personalize. Click on Desktop Background. Click on Browse to find the folder of images you would like to use. Select the folder with images and make sure to click on Shuffle. Then select your time interval and click Save Changes.
STEP 5: ENJOY!
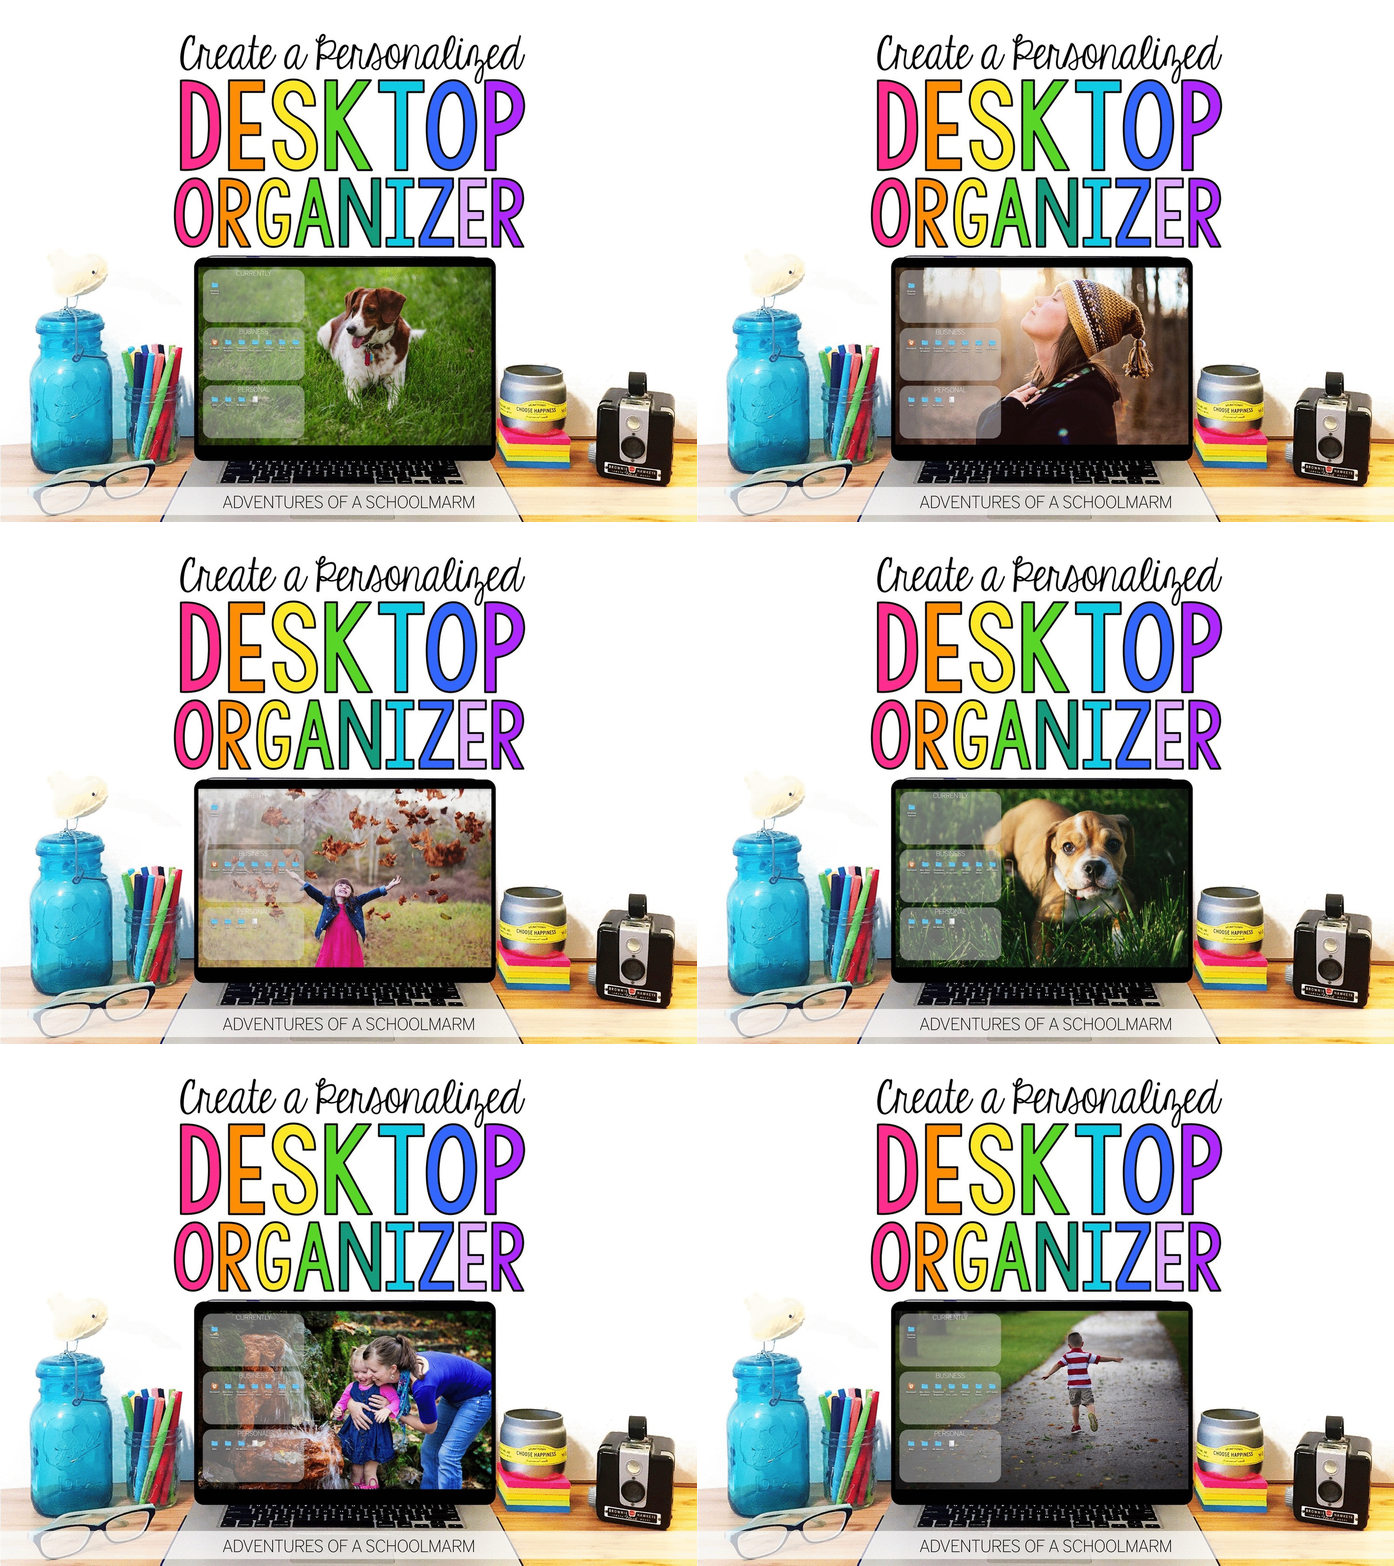
Voila! Now you have a custom desktop background that will scroll through your favorite pictures! Enjoy!










No comments