
Organizing Your Outlook Email - Tip #1: Ditch your abundance of folders.
Take a few deep breaths. I didn't say ditch all the folders. I just said ditch your abundance of folders. If you are anything like me, you probably thought that it would be easiest to organize your emails into lots of different folders. I had a folder for everything. Every subject. Staff meetings. Weekly updates. Parent Communication. And on and on and on...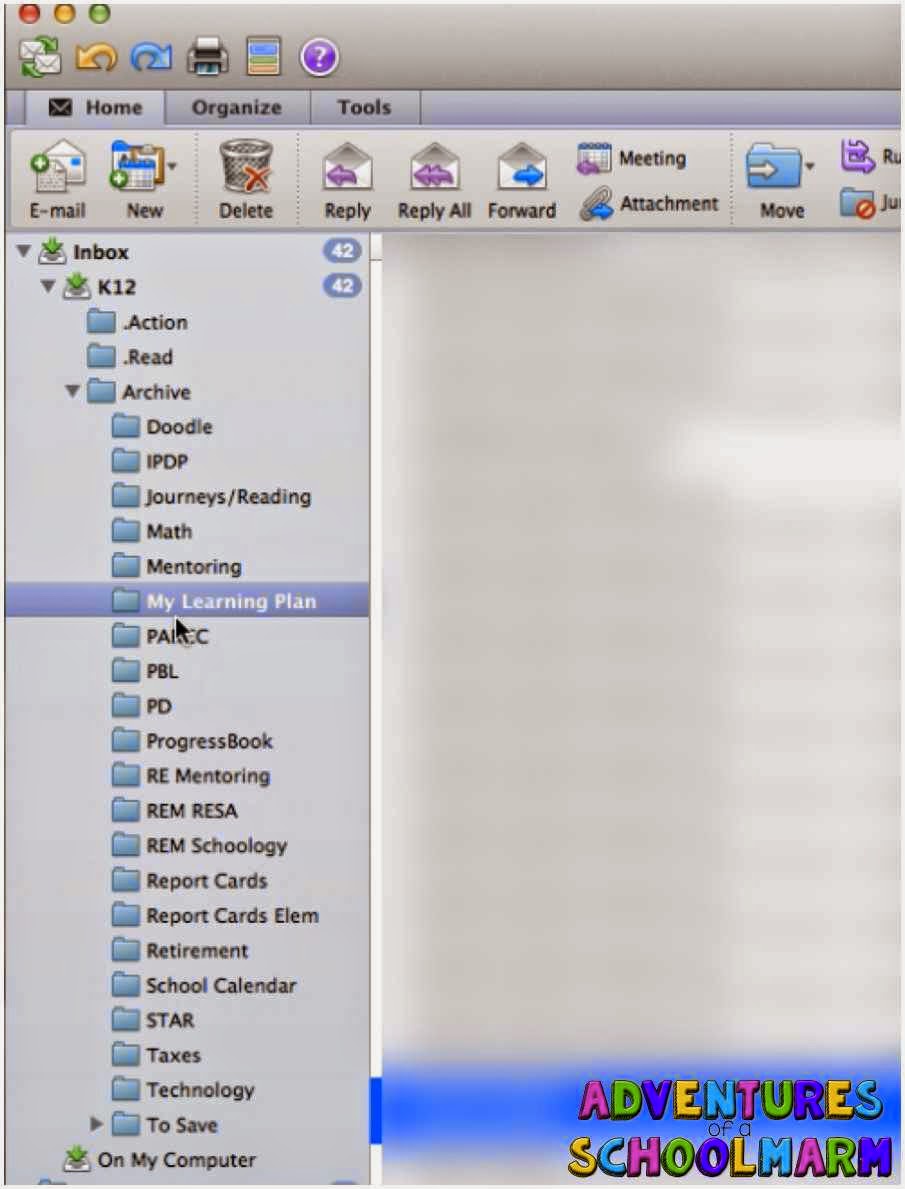
See all the folders? I used to have 3 times as many!
Having a lot of folders in Outlook is actually counter-productive. For starters, you have to remember how you categorized everything. (This is sometimes harder than it seems!) It can also get confusing when an email fits into more than one category. In Gmail, you can add multiple tags to an email, but Outlook doesn't permit that. When you put it in a folder, it stays in only that folder. In addition, having a lot of folders can actually limit the capability of the search function.
Organizing Your Outlook Email - Tip #2: Stick with 3 simple folders.
Having too many folders can be counterproductive, but having a few simple folders can really streamline the process and keep your email from getting out of control!
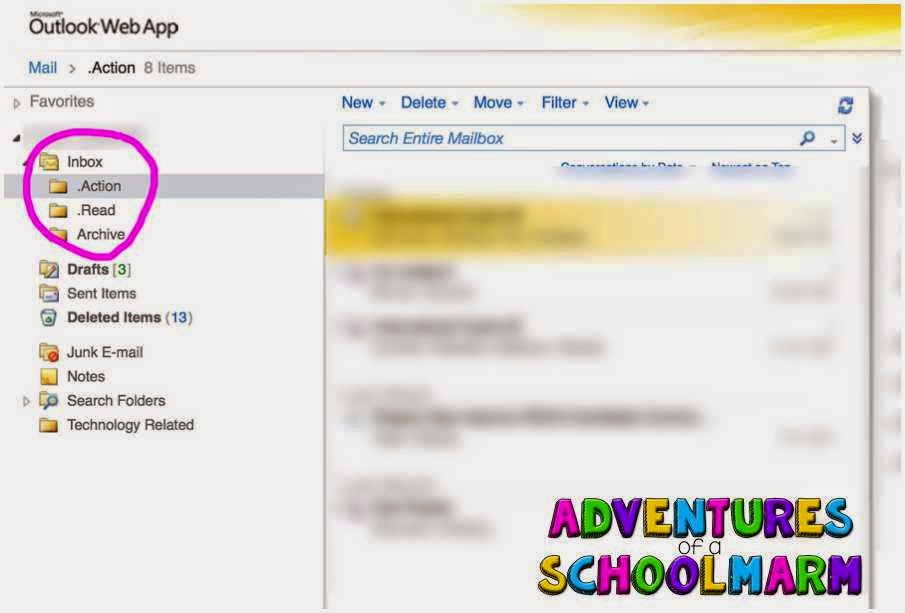
The Simple, 3-folder System:
.Action
.Read
Archive
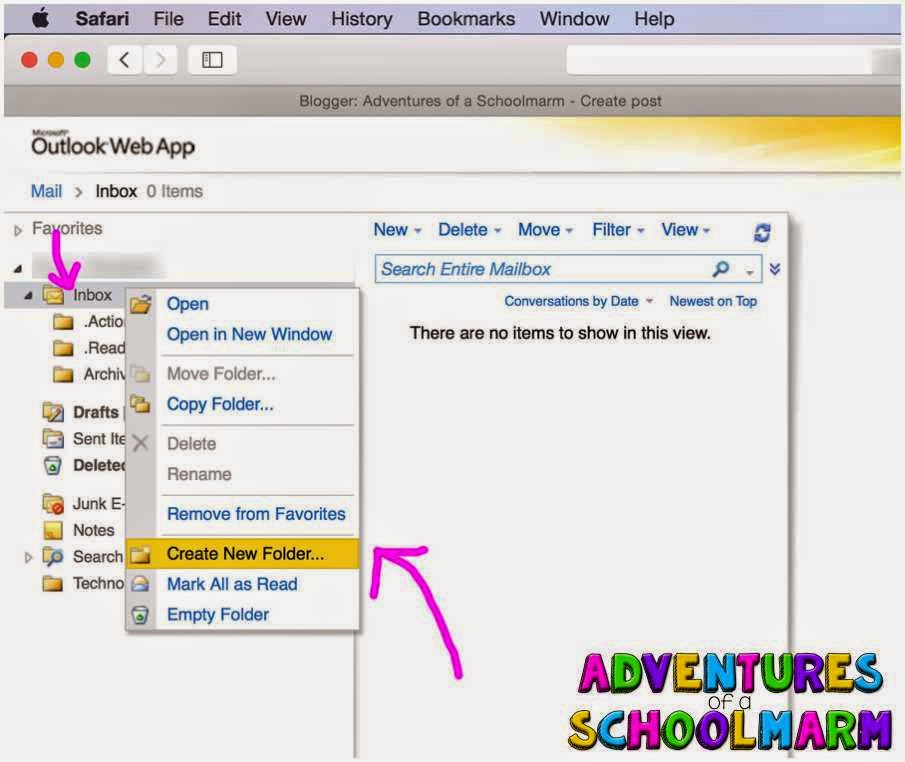
Go to your inbox. CNTRL + Click (on Mac) or Right Click on a PC to create a new folder. Name it .Action (note that there is a period before the word Action). Then use the same steps to create the folders .Read (period in front of the word) and Archive (no period in front of the word). You may need to hit refresh, but it should make your folders show up in the correct order.
If you have already archived emails into a bunch of different folders, you will want to take the time to click and drag the emails from each folder into your Archive folder. (I used the shift function to select all emails in each folder at once, then dragged them into Archive.) Once the folders are empty, they can be deleted. If you aren't ready to say goodbye to your folders yet, you can also select all the folders and drag them into Archive.
Organizing Your Outlook Email - Tip #3: Quick scan to categorize.
The next part is the most time-consuming the first time around, but I promise you that it will be worth it! You are going to quickly scan each and every email in your inbox to categorize it into one of the 3 folders. If you need to respond to an email and can do it in less than 2 minutes, go ahead and respond right now. Then categorize accordingly.
If the email requires you to take action of any kind, drag it into the .Action folder. Having an Action Folder keeps your important, time-sensitive, and task-specific emails from getting lost. Putting them all in one place makes them SO much easier to manage! This folder is also for emails you need to reply to that are going to take more than 2 minutes and emails that you are waiting for a response on before you can take action. If you need to follow-up on an email, put it in this folder until you do so.
If the email requires no action on your part, but just needs to be read (and can be read at a later time), drag it into your .Read folder. I love this because it helps me keep from losing emails that I want to read later. This is where I tend to place things like Scholastic newsletters, Teachers Pay Teachers newsletters, classroom tip emails, etc. They don't require me to respond, and I can read them at my leisure. Once I have read the emails, I can decide if I want to delete or archive.
If you are completely finished with an email, but want to save it, you will drag it into your Archive folder. You only need one folder to save everything because you can easily search for it using the search function! No more trying to remember which folder you saved it in because with this system, it only goes in one spot.
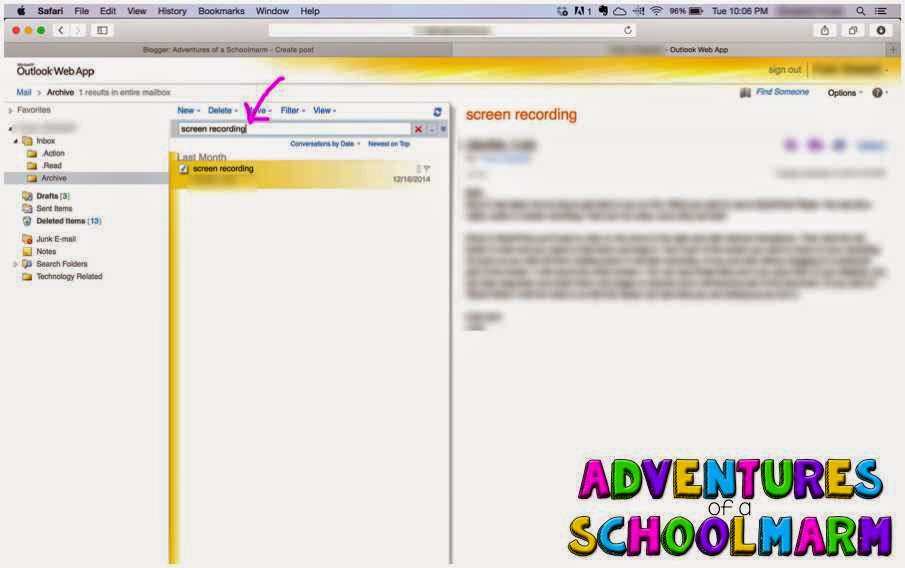
This is an example of using the search function to find an email
I received about how to make screen recordings.
Once you have gone through your email, you should have a squeaky clean inbox and all the emails you still need to take action on will be organized in your .Action folder. It's that simple!
Congratulations! You've done the hardest part!
Now that your email inbox is squeaky clean, it's time to keep it that way. I will share more tips about this later!


This is wonderful! Doing it for all of my email accounts! Tis the season of purging and organizing. Thanks!
ReplyDeleteBrandi
Swinging for Success